Chiller Temperature Reading Lower Than Actual
When air becomes trapped within the chiller, it restricts proper water circulation through the system and back into the cold plunge. As a result, the chiller is only able to cool the limited volume of water inside the unit, which rapidly reaches the set temperature due to the absence of continuous water flow from the plunge.
Causes of Trapped Air
Several factors can contribute to trapped air within the chiller:
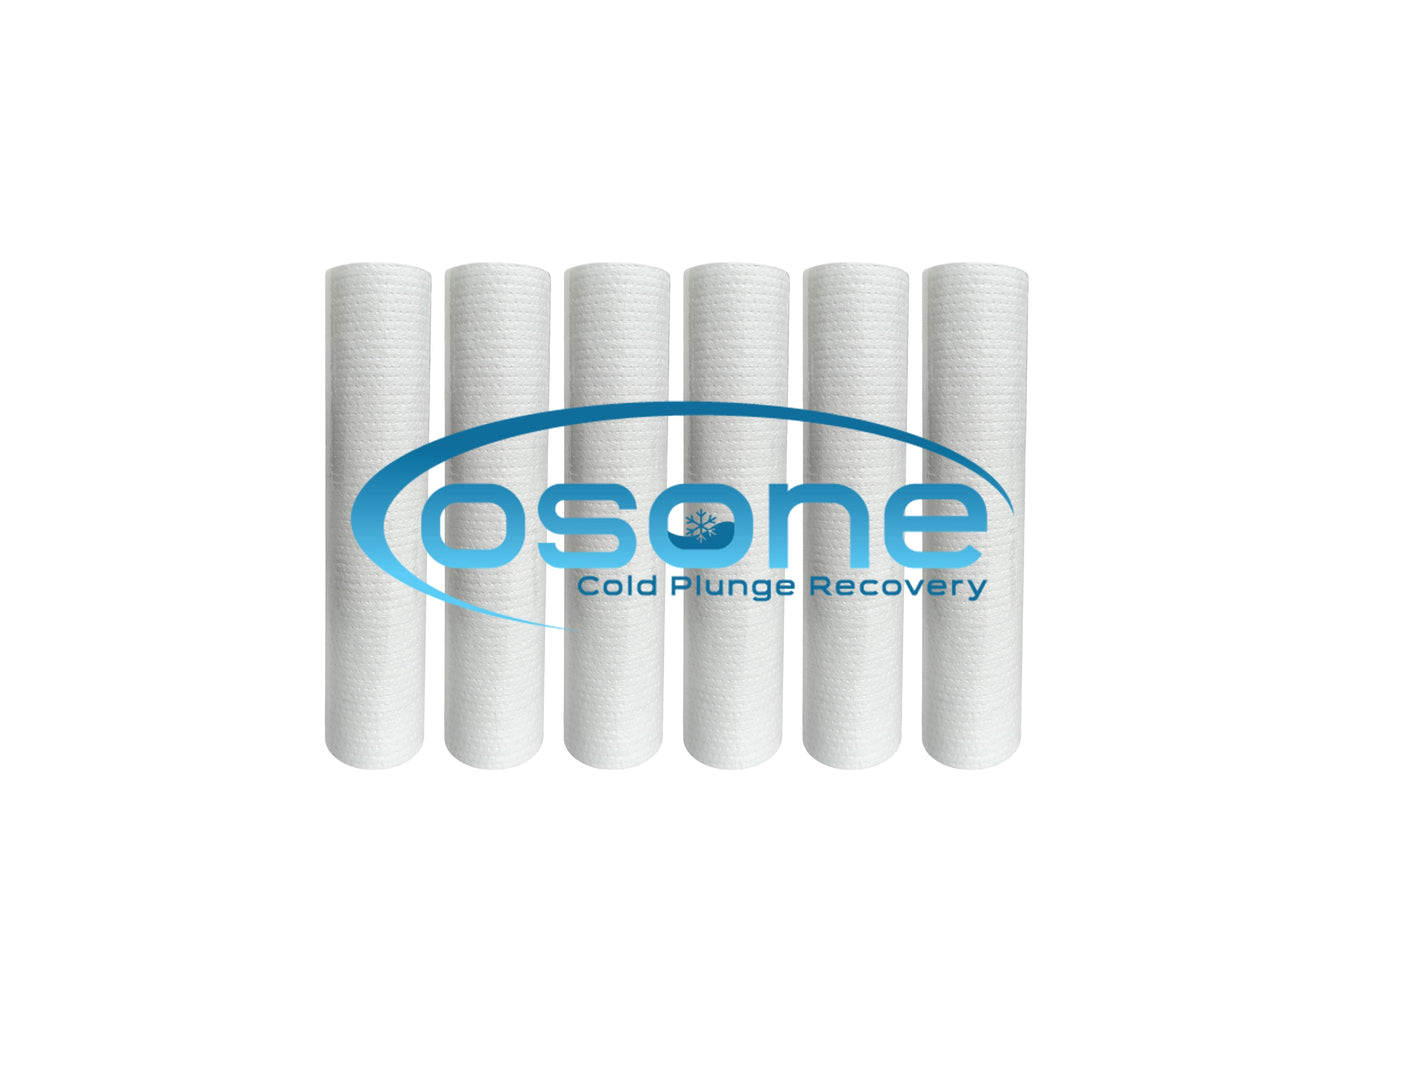
- Air in the Filter Cartridge: The primary cause of air becoming trapped in the chiller is installing a new filter without pre-filling it with water. To prevent this, ensure the filter housing is completely filled with water before completing the filter replacement.
- Dirty Filter: Clogged filters can create air pockets as water struggles to pass through the accumulated debris.
- Low Water Levels: Insufficient water levels in the cold plunge can lead to air being drawn into the system in place of water. Ensure there is enough water in your cold plunge to cover the water intake into your chiller.
- Air Leaks: Loose fittings or connections can allow air to enter during operation.
Steps to Resolve the Issue
- Replace the Filter: Check the filter for any signs of blockage or debris buildup. Based on your water quality and usage frequency, it is most common to replace the filter every 2-4 weeks.
- Ensure there is no air in the filter housing. If you're able to see air in the filter housing, unscrew the housing to replace the air with water. Either let the chiller fill the housing with water or manually fill the housing with water to the top. Screw filter housing back in place once complete. Sometimes the water flow will automatically engage back into your cold plunge. Other times, a chiller restart (turn off and back on) may be necessary to jump start the operation.
- Verify Water Levels: Ensure that the cold plunge has an adequate water supply. Low water levels can contribute to air intake. At a minimum, water levels should be over the water intake hole of your chiller (usually the bottom hole of your cold plunge).
- Check for Leakage: Examine all connections and fittings in the plumbing system for signs of leaks. Tighten any loose fittings to prevent air from entering the system. Use plumber's tape over any threaded areas.
If you have completed all of these steps and are still not seeing water flow resume from the chiller into your cold plunge, here are 2 additional recommendations.
-
Your chiller should have two hoses connected: one supplying warm water from the cold plunge and one returning cold water back into the cold plunge. Begin by disconnecting the return hose on the chiller side. This removes the hose line and allows for better isolation of the issue.
With the chiller powered on, bleed the filter housing by slightly loosening it to release trapped air and allow water to replace it. Ensure all chiller hoses are straight, free of kinks or obstructions to maintain smooth water flow. Once water flow resumes, you may observe water aggressively exiting the chiller outlet; once this occurs, promptly reconnect the return hose to the cold plunge.
If water flow does not resume, power the chiller off and then back on to help re-prime the pump.
- For this recommendation, you will need a garden hose with a spray nozzle. With all hose lines connected and the chiller turned on, set the nozzle to JET mode and place it directly over the outlet hole of the plunge (bottom hole). As you push water through the bottom hole, water will be forced through the chiller lines which will clear any leftover air remaining in the system. If done properly, you will see water start trickling in through the inlet hole of the plunge (top hole). We recommend 3 minutes of manual water pressure to remove all air from the system. Upon completion, turn chiller off and turn back on. Once the pump kicks in, as long as your set temperature is lower than the water temperature in your plunge, water flow should return and your chiller operation should be back to normal.
Establish a regular maintenance schedule for your chiller including checking water flow, routine filter replacement, appropriate water levels and secure hose fittings. This proactive approach can prevent future issues and prolong the life of your equipment.
We suggest checking water flow into your cold plunge (usually the top hole of the plunge) every time you enter as a quick maintenance checkpoint. We also suggest replacing the filter every 2-4 weeks based on your micron rating, usage and water quality.


