Keeping your cold plunge clean ensures the water stays fresh, the chiller runs smoothly, your routine stays intact and your investment lasts longer. Below is a step-by-step guide to clean your cold plunge and get the most life out of the water.
1. Drain Plunge
-
If not already in a location where you can easily drain your plunge using the bottom outlet, you can use the connected 5ft hose to direct the water flow by detaching it from the chiller side and running it to a floor drain or directly outside.
-
If the hose is not long enough, a submersible sump pump can be used by attaching a garden hose to the pump. If interested, you can purchase one here.
2. Clean Plunge
-
Take the plunge outside or to an area you can clean it.
-
Spray down the inside and outside, use dish soap and scrub gently with a sponge.
-
Rinse thoroughly and ensure no soap suds remain. For stubborn scuff marks, use a magic eraser for a cleaner finish.
-
Dry completely before placing the plunge back in position.
-
Reconnect all hoses securely to the plunge and chiller.
-
Open the shut-off valve at the bottom of the plunge so water can flow freely back through the system.
3. Replace Filter
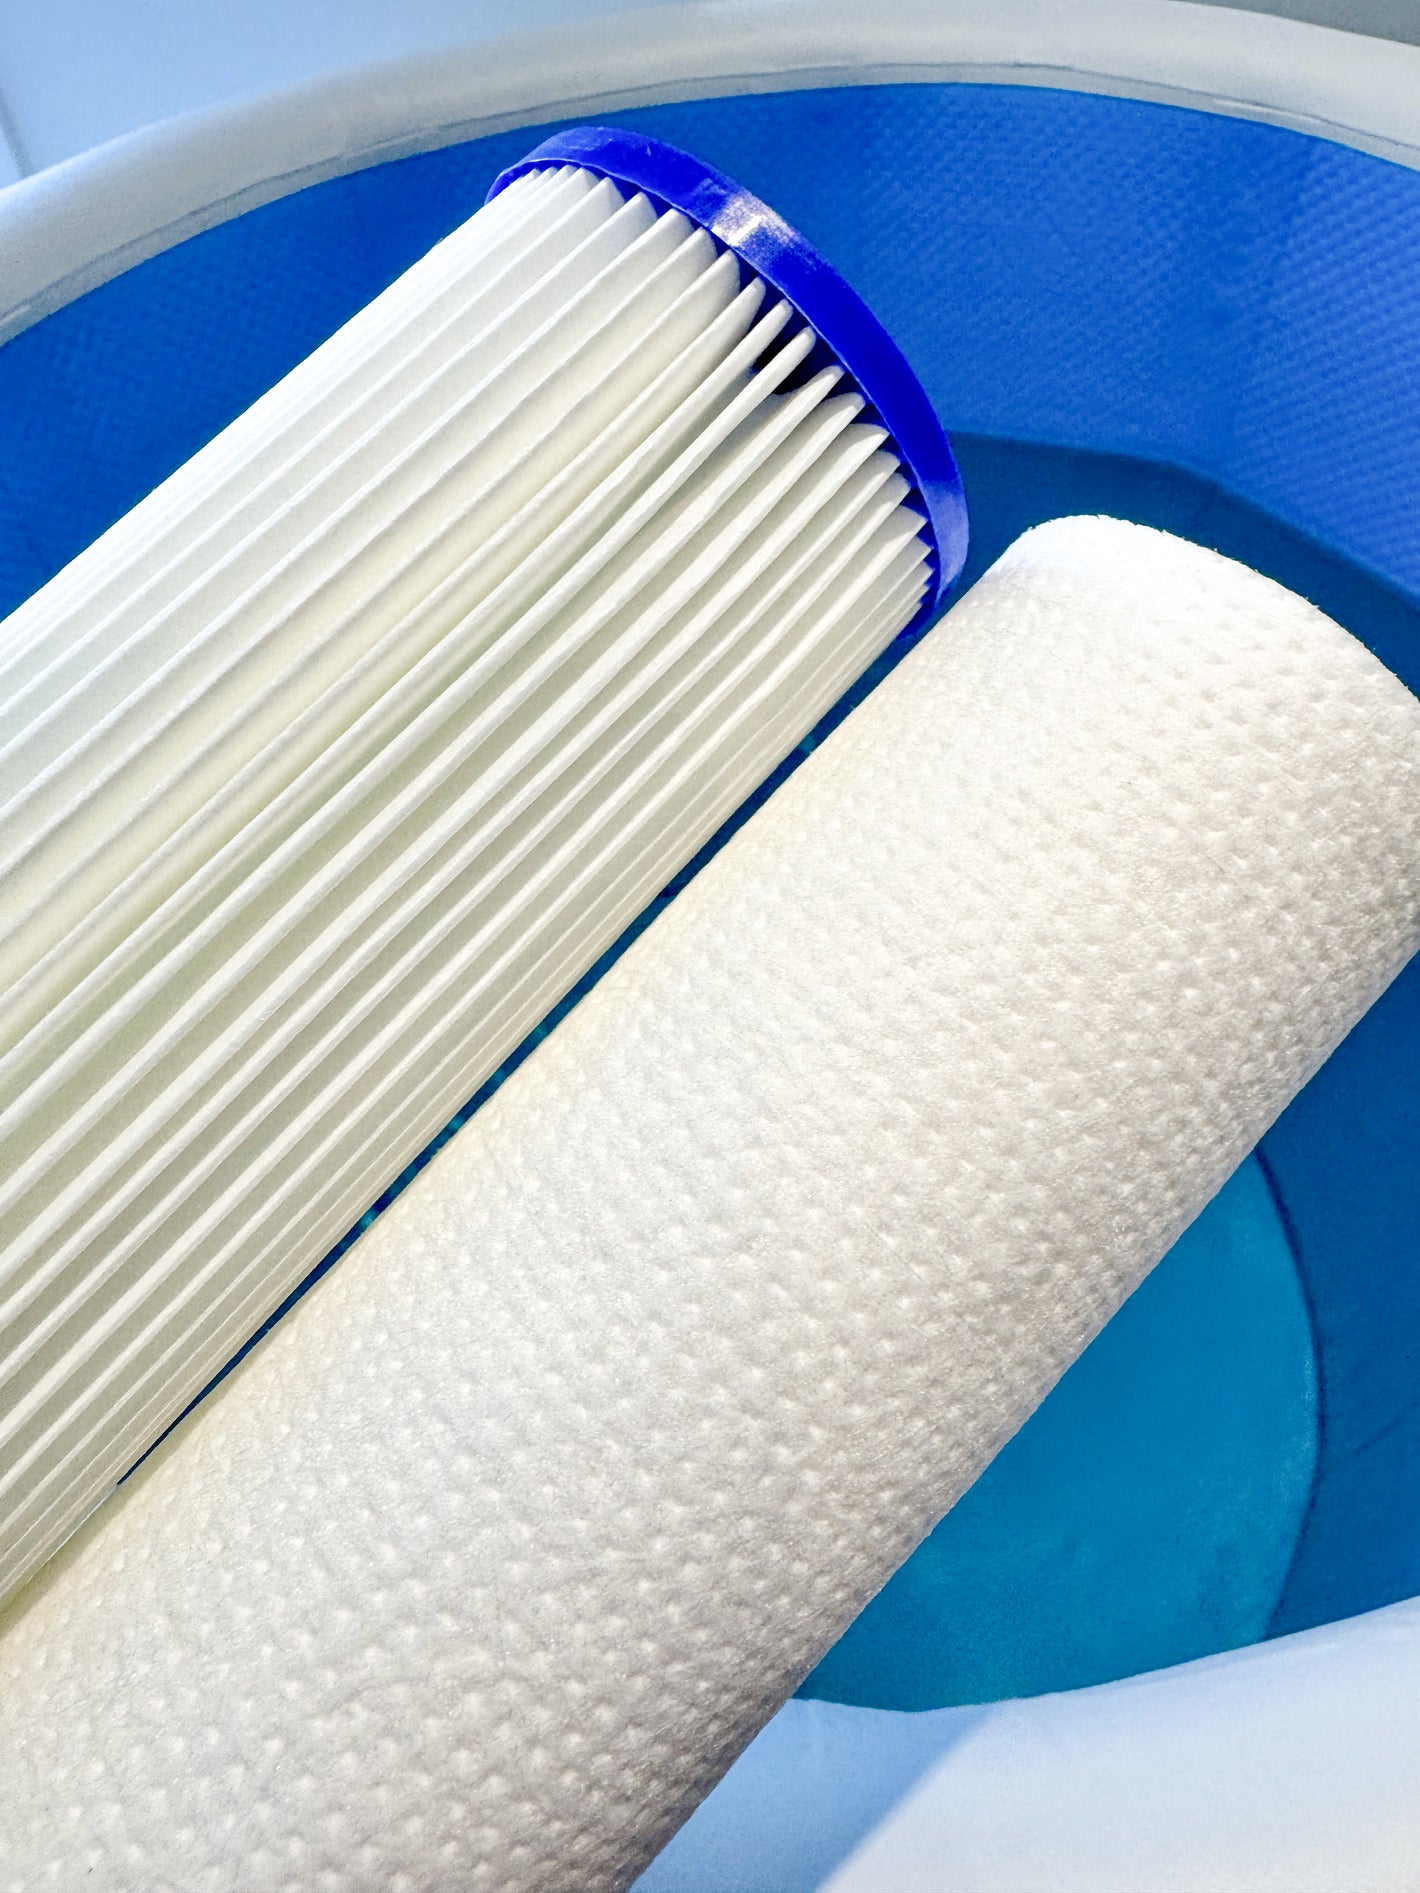
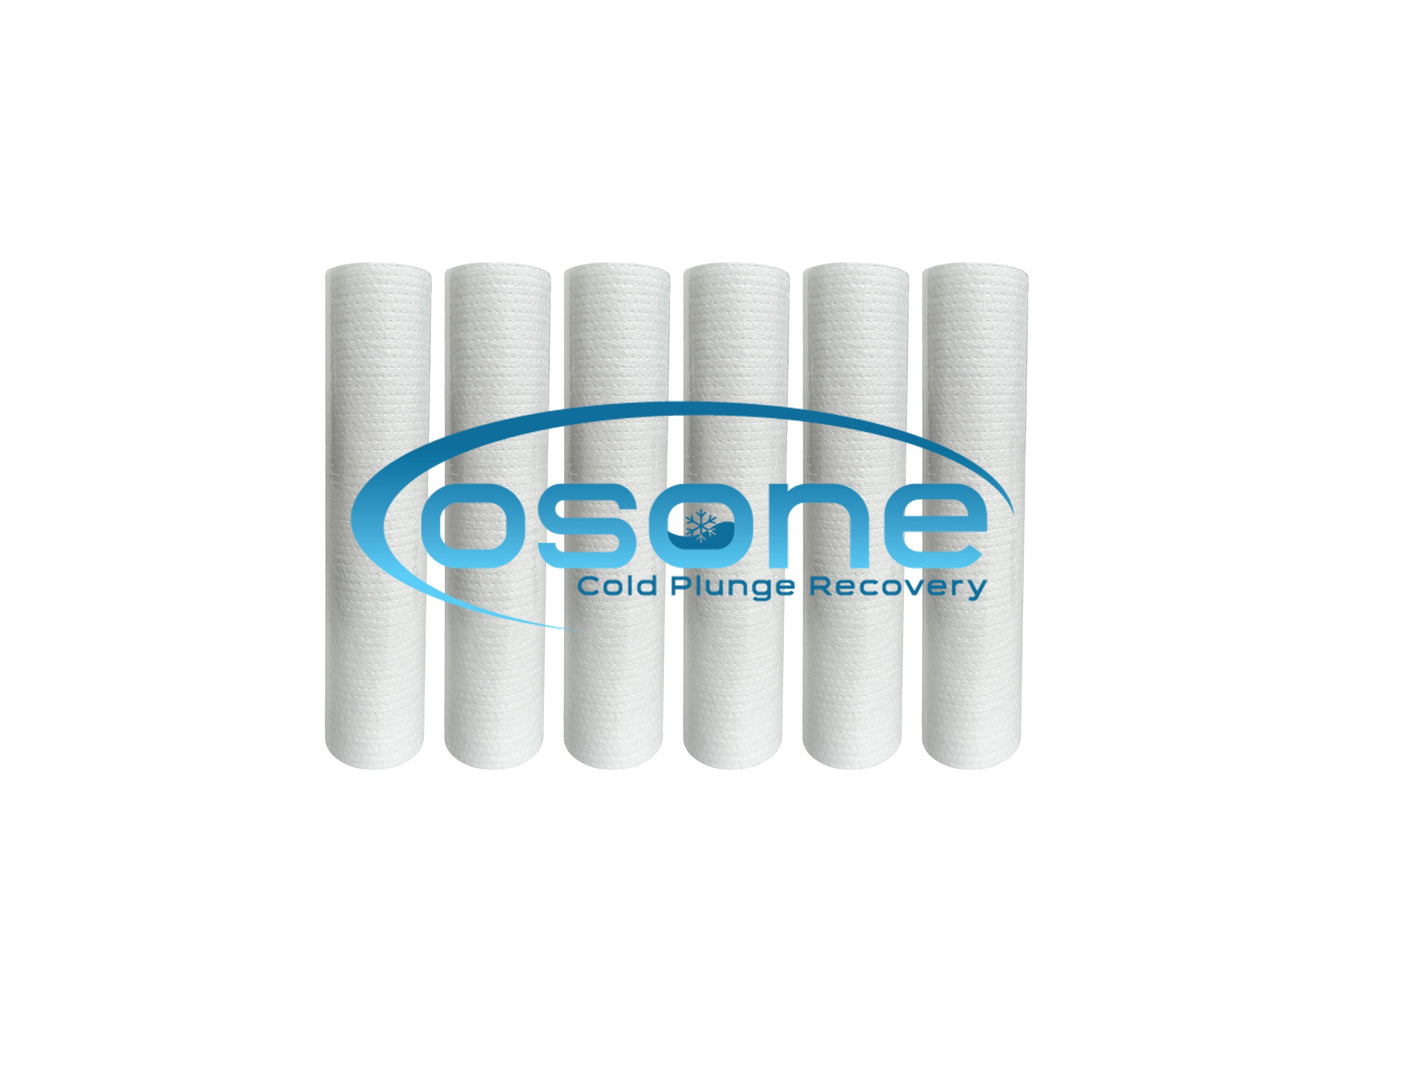
Before refilling your plunge, this would be a good time to replace the filter:
-
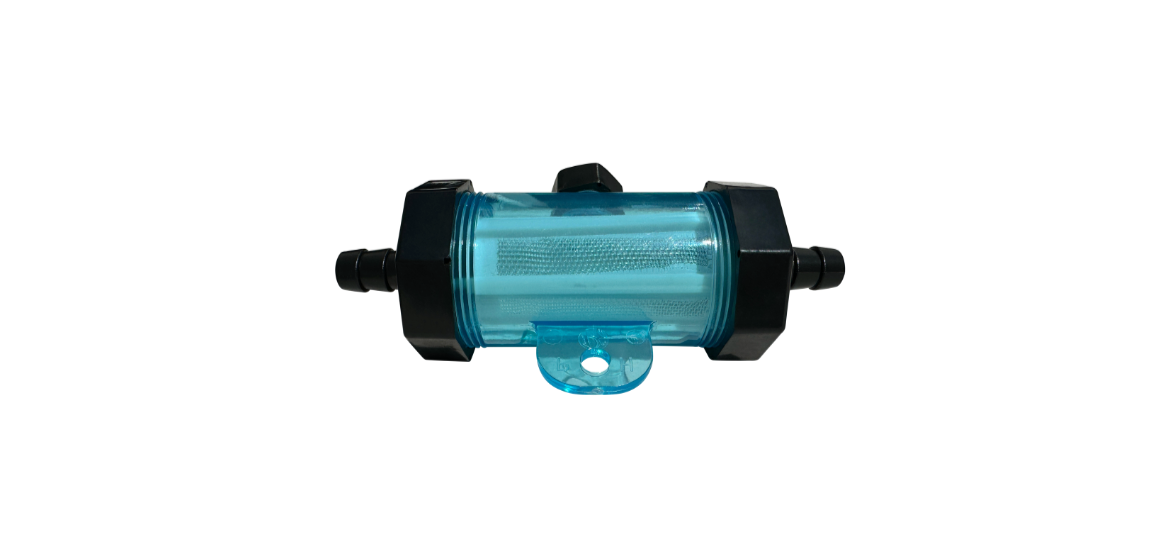
Unscrew the clear filter housing inside the side compartment of your chiller by turning clockwise.
-
Take clean filter and submerge in water for 2 minutes. This will prevent it from bobbing in the filter housing.
-
Fill the clear housing completely with water to the top, insert wet filter and seat the filter so the opening sits flush with the bottom of the clear housing.
-
Line up the filter back into place under the white lid and turn counterclockwise to screw in place.
***The clear filter housing must be full of water to prevent air lock - air trapped inside the lines which prevents water flow through your chiller. For a video on how to replace the filter, scroll to the bottom of this page.
4. Refill Plunge
Fill plunge with fresh water until water level is at least covering the bottom outlet hole of the plunge.
-
Double check that the shut off lever is open so water can flow freely from your plunge into the chiller.
-
Turn the chiller ON to test for airlock:
-
If water flows out of the top hole of the plunge, continue filling your plunge with water to your preferred level.
-
If no water is flowing, pause filling. With the chiller running, slightly unscrew the filter housing to allow trapped air to purge. Water should start filling the remainder of your filter. Once filter is full of water, retighten the clear housing, turn chiller OFF then back ON to reboot the system.
-
If water is still not flowing, check for tangled hoses or a closed shut-off lever at the bottom of your plunge.
-
- Once water flow is established through the top hole of your plunge, fill water to your preferred level for cold plunging.
5. Add Sirona
Once your plunge is filled and water is flowing:
-
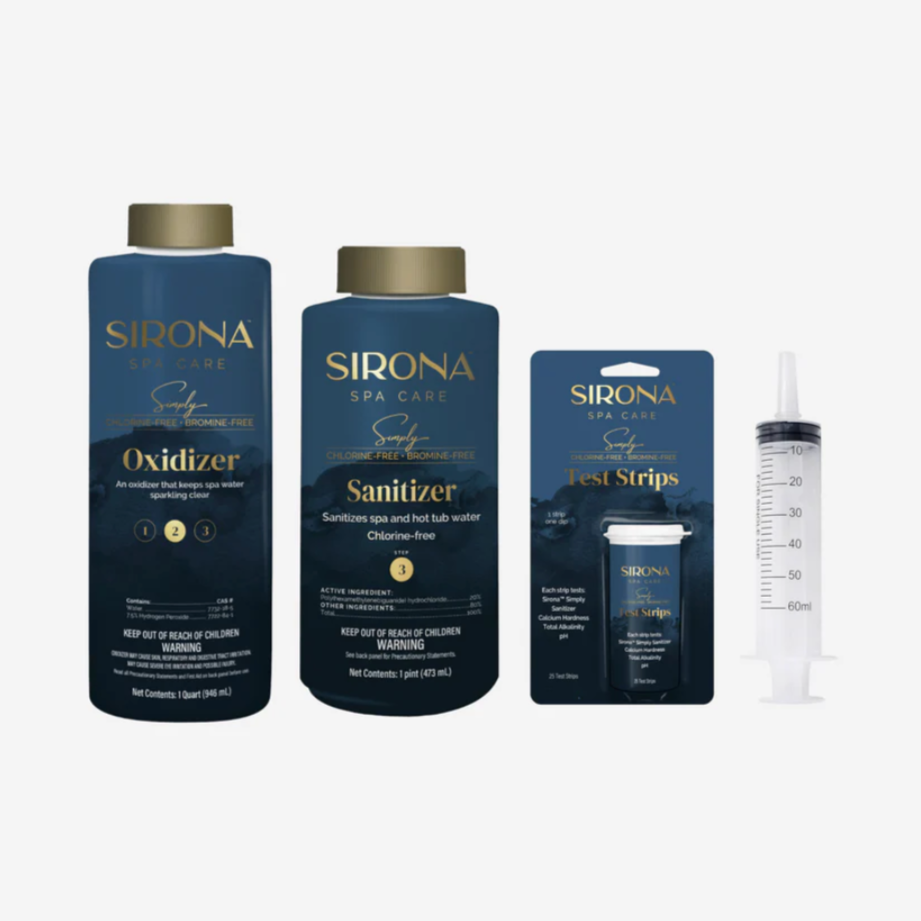
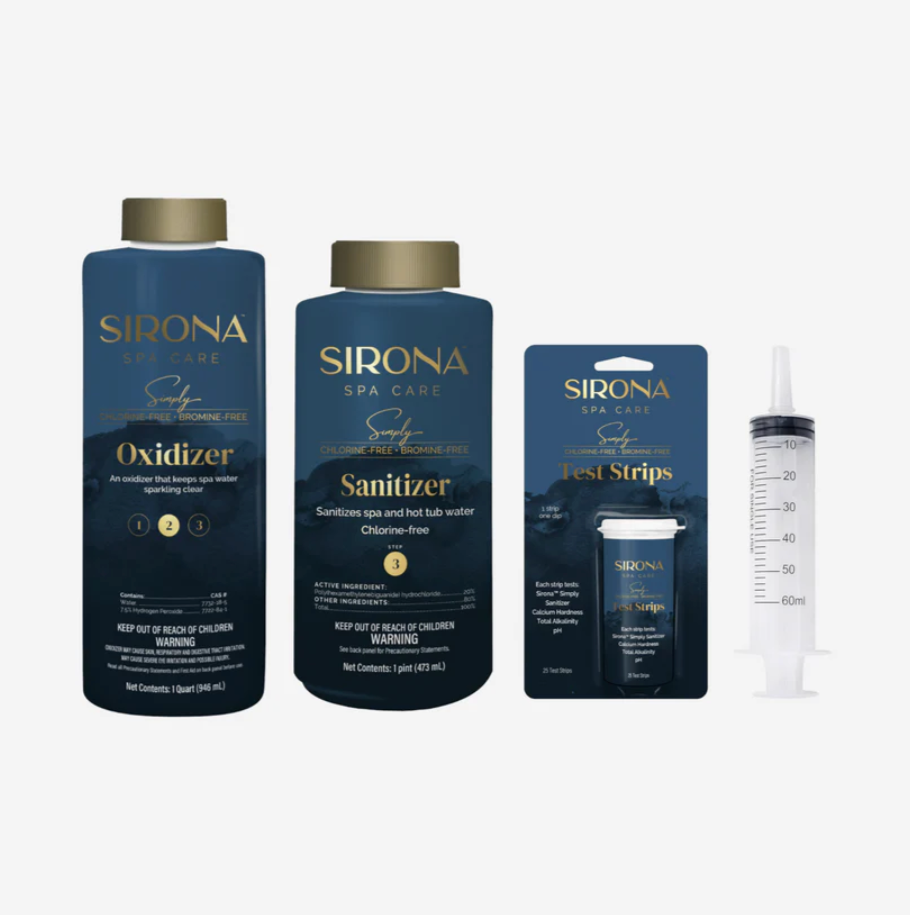
For water filled to the top hole of your cold plunge, syringe 20mL of Sirona Sanitizer and 60mL of the Sirona Oxidizer directly into the water.
-
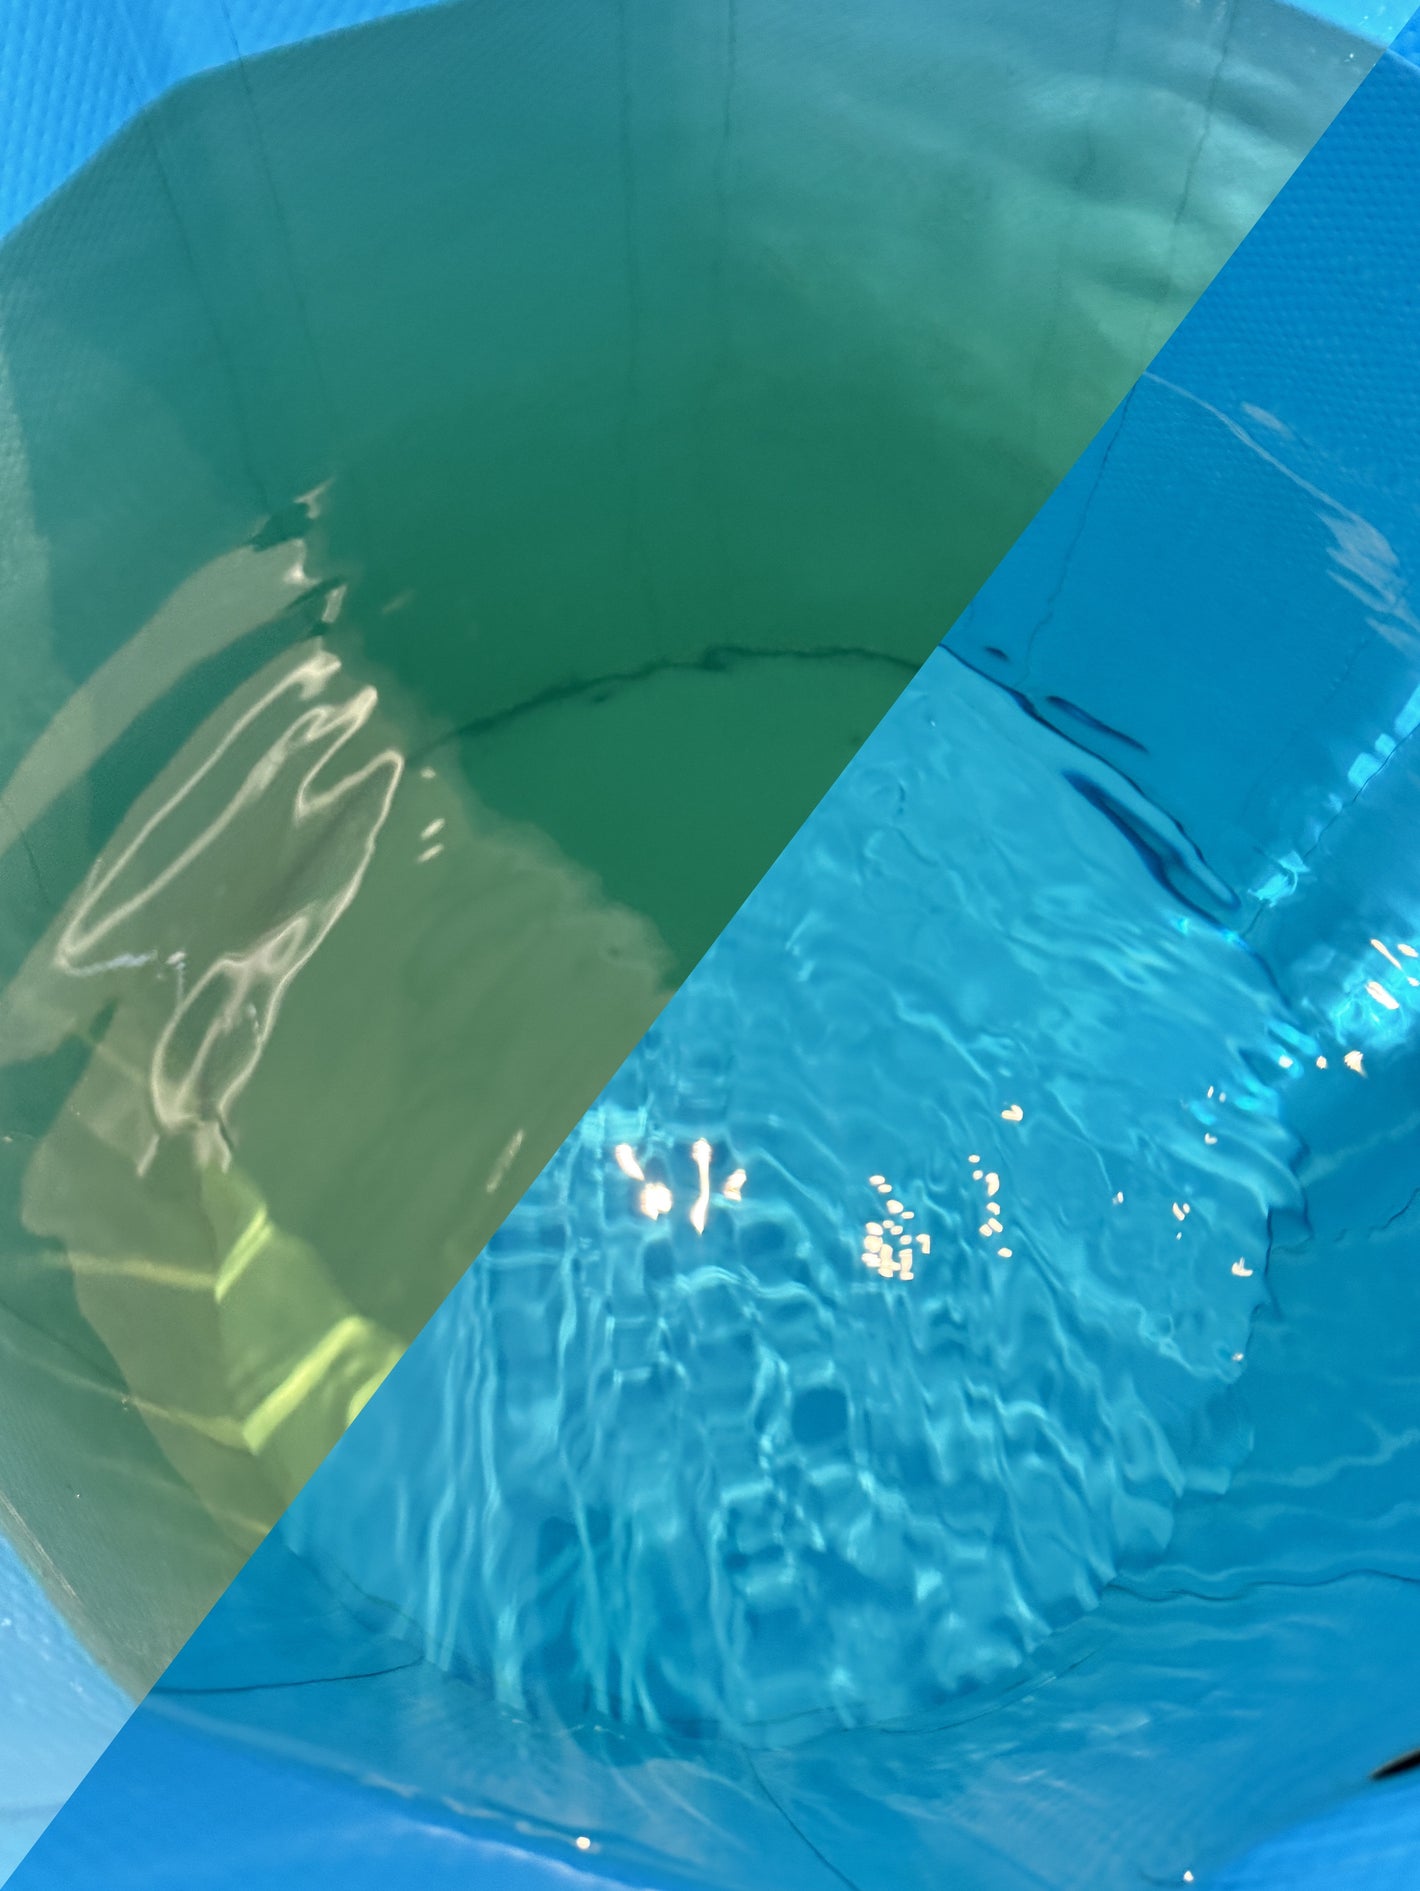
Allow to circulate for 24 hours. For the first few hours you will notice cloudy water until circulation is complete. By the next day, your plunge should be crystal clear and ready for use.

6. Go Months Without Water Change
For clean water start up, follow the maintenance routine below and go months without having to replace your water.
✅ The cleaner the body when entering the plunge, the less foreign debris you introduce into the water. It's always a good idea to hose off prior to entering the plunge.
✅ Always keep your chiller ON so water flow is constant. Your Pro Chiller is rated for 396 GPH which means it is cycling and cleaning the water in your cold plunge 4x per hour. It is imperative to keep the water flow continuous to prevent stagnant water flow which leads to bacteria.
✅ When filling your plunge with clean water, apply Sirona Sanitizer & Oxidizer. Re-apply both Sirona bottles every 2 weeks to get the most time out of your water.
✅ Check the filter and replace based on discoloration, visible debris or low water flow back into your plunge. Replacing the filter every 2 weeks can keep your chiller operating more efficiently and your water cleaner for longer. When using the shut-off valve on the bottom of your plunge, changing a filter can be completed in less than 60 seconds.
✅ Ensure green light is on for UV sanitation. When the light goes off, you will need to replace the UV bulb which can be purchased on our site, here.


